
How to Mount Solar Deck Lights on Wood vs. Composite Deck Railings
Mount solar deck lights on wood railings with screws into sound boards, predrilled if the rail splits, and on composite railings with 3M adhesive on a clean, dry, smooth cap or side — unless the composite maker allows a fastener. Both materials accept vertical or flat mounts. The rail is not a stair riser: the job is marking the walking edge and keeping the panel in 4–5 hours of sun so nights run 6–8 hours. Match hardware to the railing material, not to a single deck-wide habit.
Wood railings: bite, split, and sun
Solid wood rails, posts, and fascia usually take the included screws. Predrill near ends and on old dry boards. Snug the ABS housing; do not crank until the rail splits or the lamp cocks toward walkers. A split rail is a mounting miss, not proof that solar does not work.
Pick the face that sees sky. A wood cap under a deep roof will not finish a 4–5 hour charge. A vertical rail side in afternoon light often charges better than a shaded top. Warm white should wash the deck edge, not the seated faces along the rail.
Rot is a wood problem. A screw in punky rail does not hold. Repair or move to sound wood before lighting that span. Paint and sealer are fine if the board is solid; wipe loose flakes so the housing sits flat.
Composite railings: hollow cores and no-drill rules
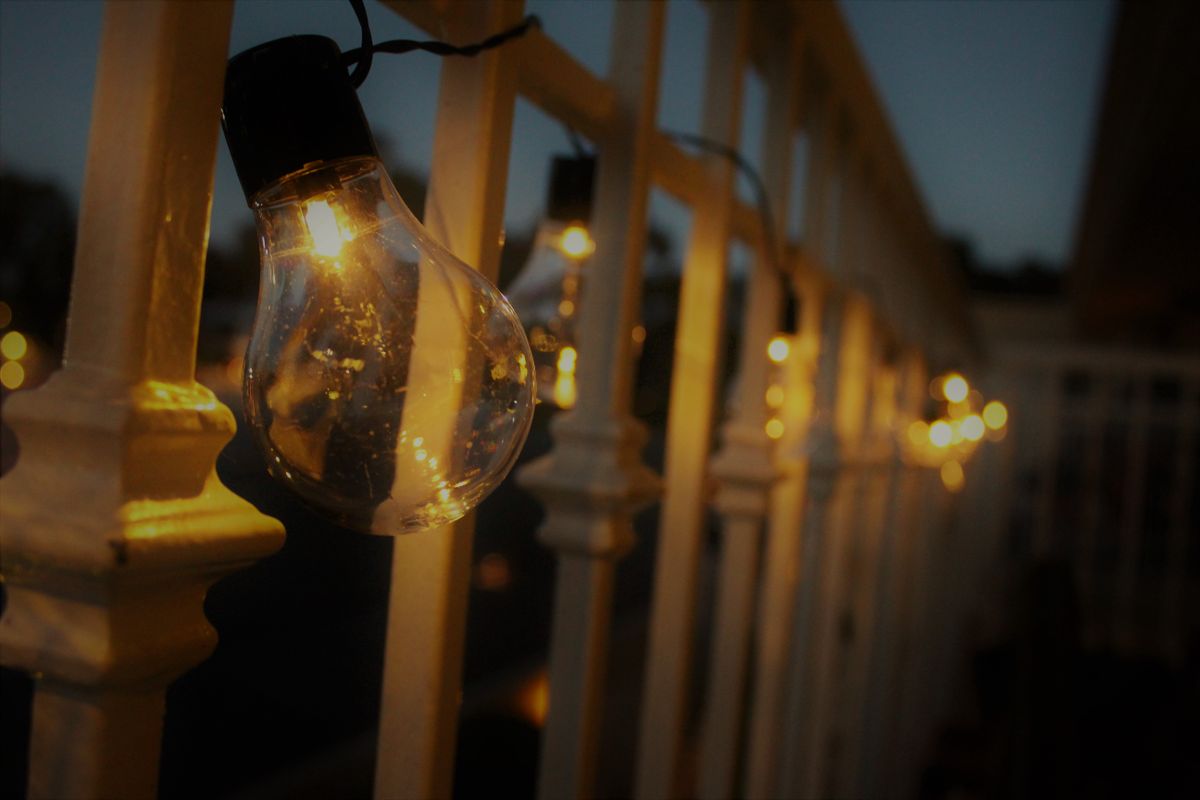
Photo by Humphrey Jones-Behan on Pexels
Many composite rails are capped, hollow, or sold with a no-penetration finish. A screw that bites wood may spin in a hollow core or void a railing warranty. That is why 3M adhesive is the usual composite path. The plane must be clean, dry, and as smooth as the texture allows. Wipe chalk, pollen, and factory dust. Press firmly. Cure on a dry day.
Heavy wood-grain texture can starve tape of contact. If the pattern is deep, choose a smoother side of the same rail or a post face rather than forcing 3M onto peaks only. Vertical mounts on a composite skirt work when that skirt sees sun.
If the composite maker allows a specific fastener, follow that — still without inventing extra hardware beyond screws and 3M. When in doubt, adhesive on a prepared face is the reversible, no-core-crush option.
Same activation on both materials
Pull the transparent insulator strip before either rail sees a hole or tape. Charge 4–5 hours with the panel toward the sun. Confirm glow in the dark. Then mount. A charged unit on wood and a charged unit on composite behave the same at dusk: automatic on, off at dawn, no switch.
Mixed decks are common: wood posts with composite caps. Screws on the post, 3M on the cap, is a valid split. Do not treat the whole railing as one material if it is not.
ABS handles rain, snow, and wind on both woods and composites. Wipe the panel after pollen season; composite static can hold dust against the cell.
Wood railing versus composite railing mounts
| Factor | Wood railing | Composite railing | | --- | --- | --- | | Typical hardware | Screws, predrilled | 3M on a clean dry face | | Core | Solid board bites | Often hollow; screws may spin | | Finish risk | Split or rot | No-drill warranty or crushed cap | | Surface prep | Sound wood, wipe flakes | Wipe chalk, pollen, texture dust | | Reposition | Unscrew and patch | Harder after 3M cures | | Sun rule | Sunny face, not pretty shade | Same: panel needs 4–5 hours |
Aim the rail light at the walk, not the view
Rail lights fail when they become eye-level glare for people on the deck. Sit in the usual chair after the first dusk. If a lamp is in the eyes, lower it on the rail side or move it to a fascia below the cap. Glare-free warm white is the color; geometry is still the installer's job.
Space along the rail so the walking edge is marked. A cluster on one corner post leaves the long run black. Widespread use includes decks, stairs, paths, and doors — the rail is one of those planes, not the only one.
Do not mount on the top walking surface of a bench-style cap if people sit there. Use the side plane.
Wood vs composite railing mount checklist
Photo by Plato Terentev on Pexels
- Identify wood, composite, or a mixed rail.
- Predrill and screw only into sound wood.
- Use 3M on clean, dry composite unless fasteners are allowed.
- Avoid hollow cores that will not bite a screw.
- Pull tabs, charge 4–5 hours, dark-test, then mount.
- Keep the panel on the sunny rail face.
- Sit on the deck at dusk and kill any eye-level glare.
Frequently asked questions
Can composite rails take screws?
Only if the rail is solid enough and the maker allows penetration. Hollow caps often spin a screw. 3M is the usual no-damage path.
Will 3M stick to wood rails?
On clean, dry, smooth sealed wood, yes. Rough, wet, or flaking stain is a screw job instead.
Which material charges better?
Neither. Charge is sun on the panel for 4–5 hours, not wood versus composite.
Do mixed wood-and-composite rails need one method?
No. Screws on wood posts and 3M on composite caps is a normal split.
Should lights sit on top of the cap rail?
Only if nobody sits there and the cap sees sun. A side mount often aims better and avoids a seat.
Related reading
These published mounting and railing guides sit next to a wood-versus-composite how-to.
- how to install solar stair lights using screws or 3M
- 3M adhesive versus screws for solar deck-light mounting
- FAQ on solar deck railing and step lighting
- how-to for installing solar deck lights and troubleshooting
What to do next
Touch the rail and name it: solid wood, composite cap, or mixed. Pull the insulator tabs, charge 4–5 hours in sun, and dark-test. Mount with screws into sound wood or 3M on a wiped composite face, panel to the sky, lamp aimed at the walking edge. Sit on the deck at dusk and move anything that glares.
Cover photo by Aleksandr Firstov on Pexels.