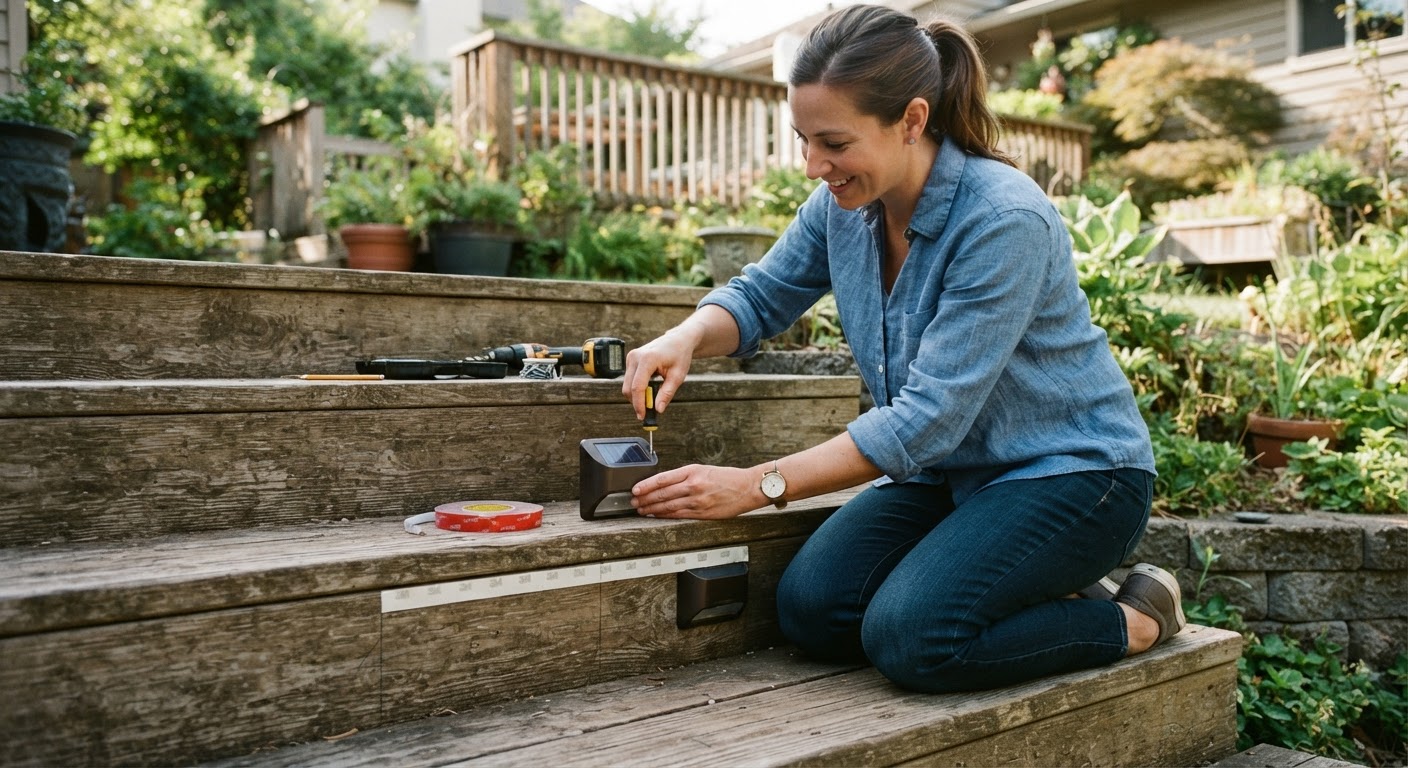
How to Install Solar Stair Lights Using Screws or 3M Adhesive
How to Install Solar Stair Lights Using Screws or 3M Adhesive
Adding safety lighting to your deck or garden steps does not require hiring an electrician. Solar-powered units can be positioned anywhere that receives adequate daytime exposure. For a comprehensive overview of outdoor step safety strategies, refer to the main guide.
Step 1: Remove the Insulator Tab and Charge
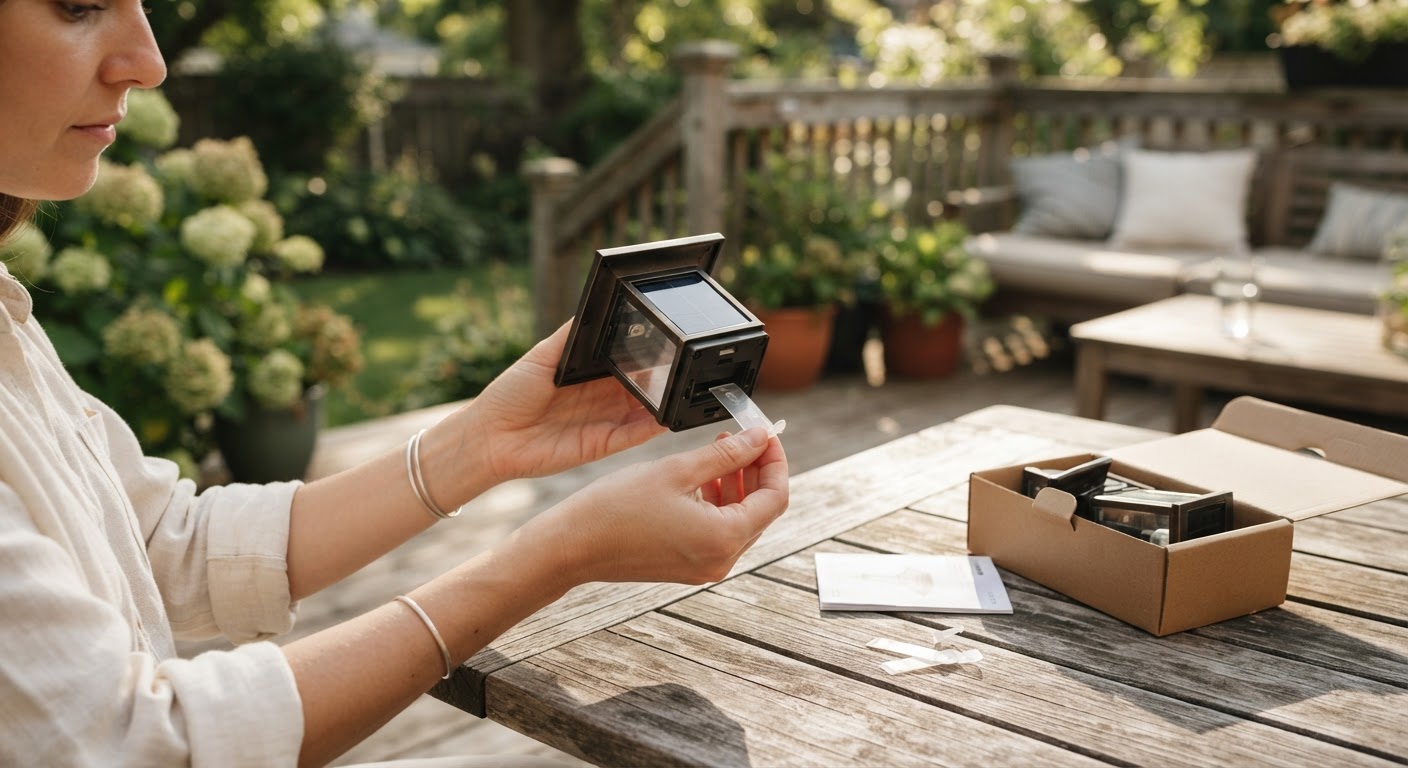
Remove the transparent plastic strip located on the back panel to activate the battery circuit. Before permanent mounting, charge the solar panel in direct sunlight for 4-5 hours to ensure full power storage.
Step 2: Choose Your Mounting Location
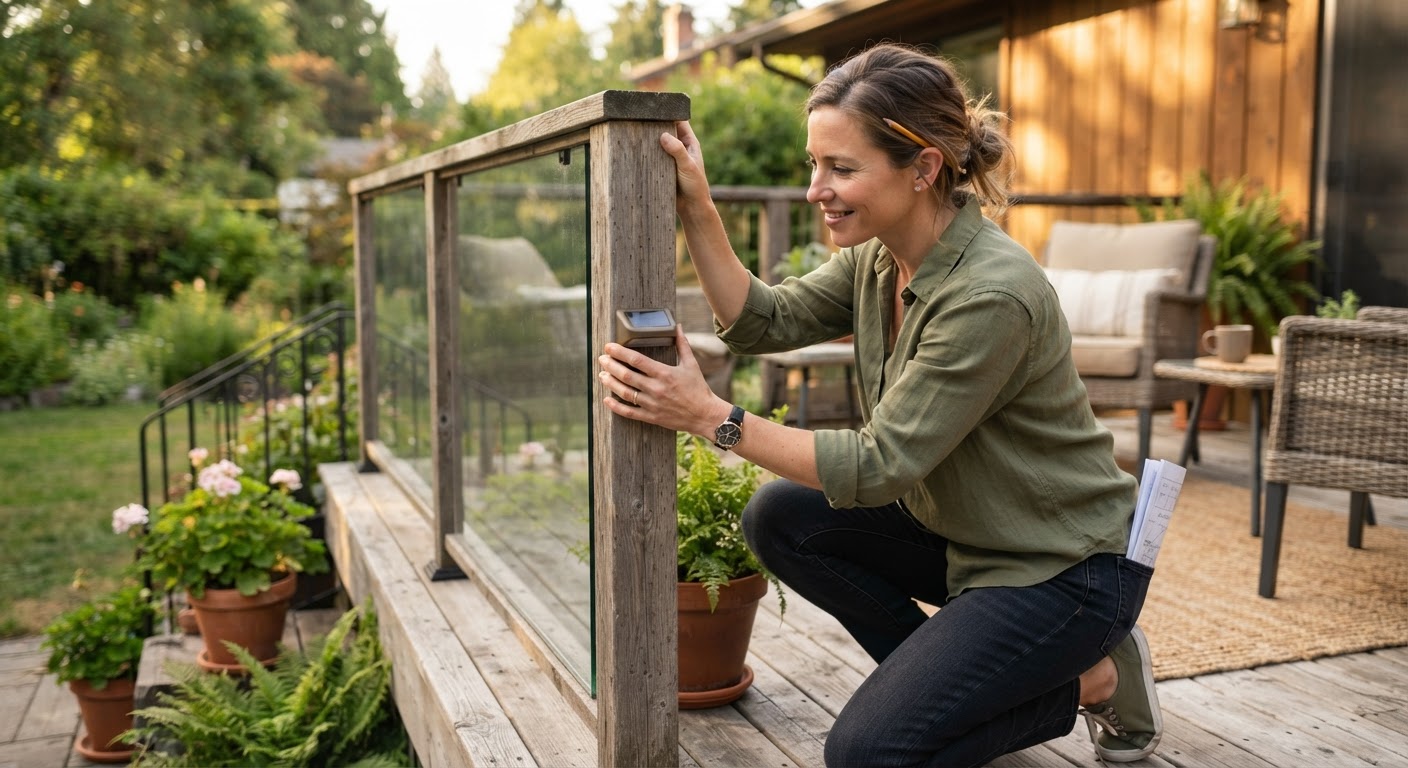
Determine whether vertical riser placement or flat step placement works best for your staircase geometry. Ensure the solar collector surface receives sunlight during the daytime.
Step 3: Fasten Lights with Screws or 3M Glue
For wooden or composite decks, position the PRODUCT_TITLE against the surface and drive the included screws into place. For stone, concrete, or metal steps, apply the provided 3M adhesive tape flatly onto a clean, dry surface and press firmly for 30 seconds.
Step 4: Verify Automatic Dusk-to-Dawn Operation
Test the automatic sensor by covering the solar panel with your hand or checking the fixture in a dark room. The light should turn on automatically upon detecting ambient darkness.
Read the full guide: How to Light Outdoor Stairs Safely at Night: The Complete Guide