Solar Deck Railing & Step Lighting FAQ: Placement, Weatherproofing, and Soft Ambiance
Contrary to belief, solar deck lights do not require harsh overhead spotlight glare or complex electrical wiring to keep your steps safe at night. Mount compact warm-white lights 3 to 4 feet apart on stair risers or railing posts, pull out the clear insulator tab, charge in direct sun for 4 to 5 hours, and secure with 3M tape or screws for 6 to 8 hours of automatic, glare-free night lighting.
Visual Light Cast & Angles: Stair Risers vs. Railings
Understanding how light casts across outdoor stairs is critical for nighttime safety. Unshielded spotlights bounce harsh glare directly into oncoming eyes, creating momentary blindness when walking down steps. In contrast, downward-deflected warm white solar fixtures project a gentle, 45-degree light cone that illuminates step treads while keeping the light source completely non-dazzling.
Placement Scenarios: Railings, Stairs, Fences, and Perimeter Walls

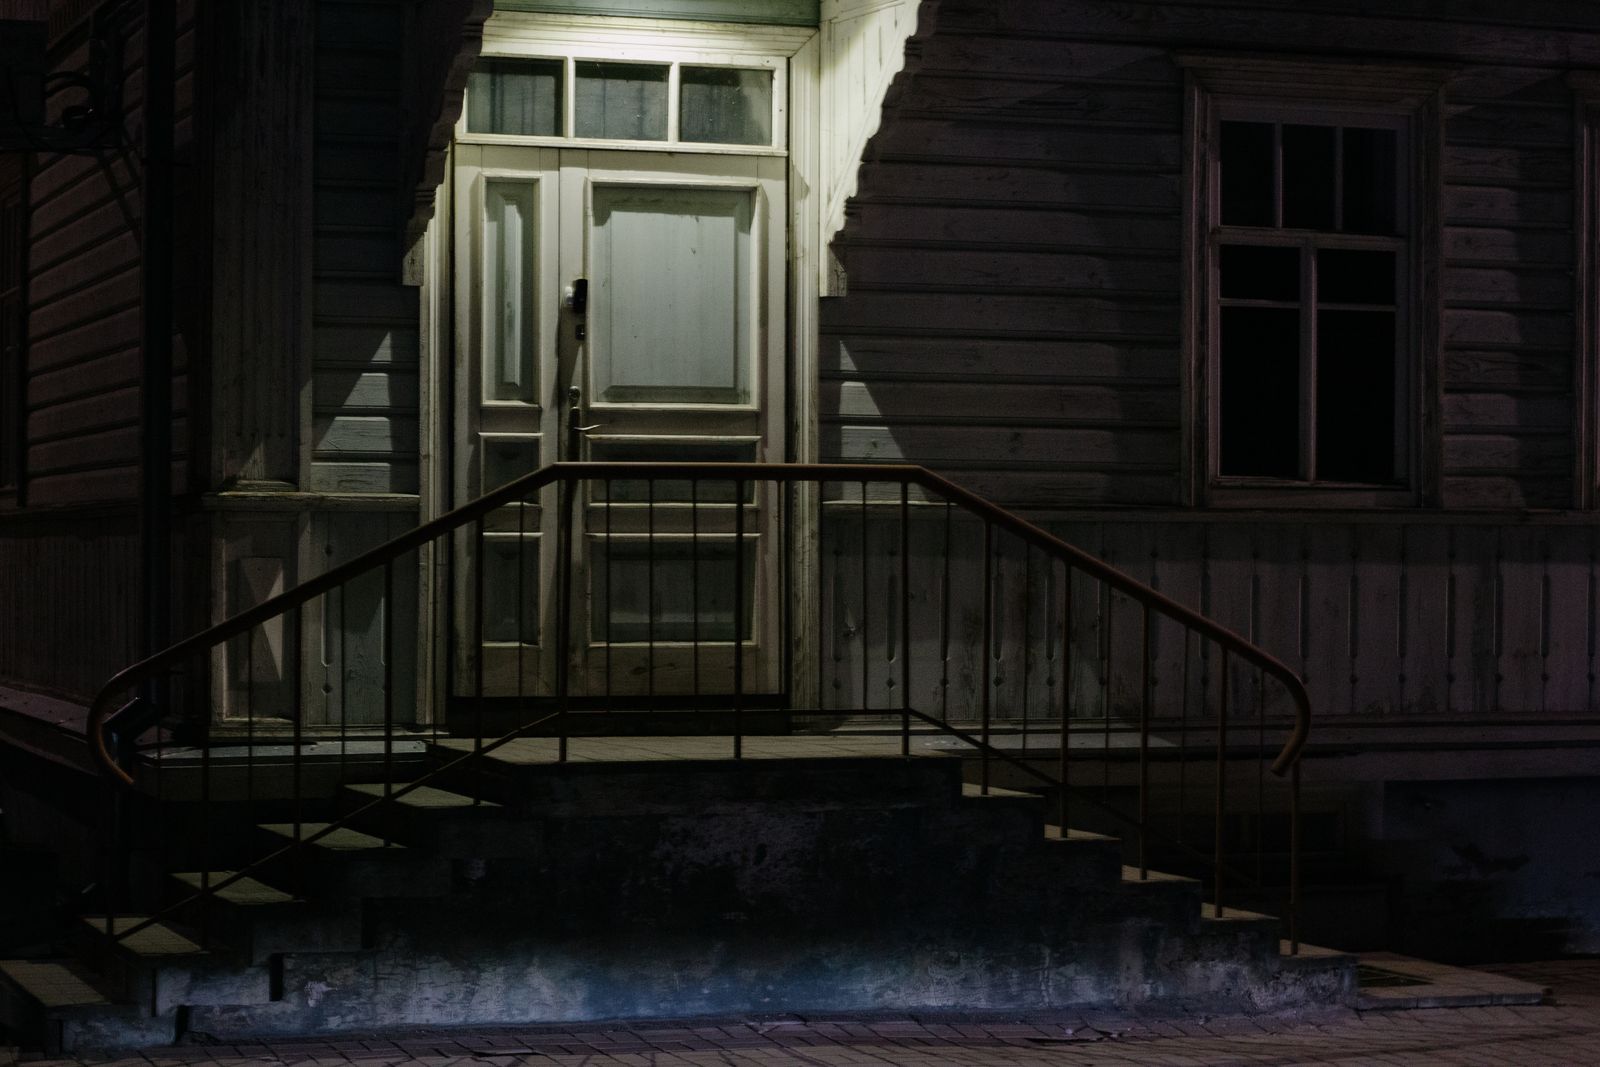
Photo by ROMAN ODINTSOV on Pexels
Stair Tread & Riser Placement — Mount one fixture centered on every step riser 3 to 4 inches below the top edge. For staircases wider than 5 feet, install two fixtures per riser spaced 3 feet apart to eliminate dark shadow zones.
Deck Railing & Perimeter Post Mounting — Attach fixtures flat or vertically on railing posts spaced 3 to 4 feet apart. This defines the deck edge clearly for nighttime strollers without blinding seated guests.
Fence Panel & Garden Path Accent — Mount fixtures flat against wooden or vinyl fence boards at a height of 3.5 to 4 feet. Ensure the top solar collection panel receives direct, unshaded sunlight during mid-day hours.
Entryway, Garage & Driveway Walls — Secure vertically along side walls or gate entryways where subtle ambient guidance lighting is desired for evening walks, family foot traffic, and driveway boundaries.
Solar deck lights adapt to almost any exterior surface. Below are optimal positioning guidelines based on common deck and yard layout scenarios.
Top 5 Solar Deck Light Setup Mistakes to Avoid
Avoid these frequent installation oversights to ensure maximum nightly brightness and long-term durability:
Mounting Decision Tree: 3M Adhesive vs. Screw Fasteners
- Is your mounting surface smooth vinyl, painted aluminum, or glass? → Yes: Use the included heavy-duty 3M double-sided adhesive tape for a clean, drill-free attachment.. No: Is the surface outdoor pressure-treated wood, rough composite, or textured brick?
- Is the surface outdoor pressure-treated wood, rough composite, or textured brick? → Yes: Mount using the included stainless steel screws through the fixture's integrated mounting holes for permanent stability.. No: Is the installation area subject to severe winter freezing or continuous snow build-up?
- Is the installation area subject to severe winter freezing or continuous snow build-up? → Yes: Screw mounting is recommended to avoid adhesive failure during severe freeze-thaw cycles.. No: Either 3M adhesive or screw mounting will perform reliably on clean, smooth surfaces.
Visual Gallery: Warm Ambient Deck Transformations
Explore how soft warm white lighting transforms ordinary outdoor stairs and railings into inviting, safe nighttime retreats.
Action Plan: Preparing Your Deck for First-Time Installation
Your decision: Determine your mounting method (3M tape for smooth vinyl/metal or stainless screws for wood/composite) and count total step risers and railing points.
Do this next: Pull out the transparent pull-tab insulator on each unit, place under direct sun for 4-5 hours to charge, and test in a dark room before mounting.
Related resource: Download our printable deck installation checklist and spacing planner guide.
Order your Solar Powered Deck Lights (Pack) directly from our official store with custom mounting kits included.
Follow these practical preparation steps to ensure effortless installation and maximum battery life:
Key Takeaways for Solar Deck Lighting Setup
- Warm white color prevents dazzling glare, making nighttime walks safe and comfortable for children and seniors.
- Remember to pull and remove the transparent pull-tab insulator from the back of each light before unboxed solar charging.
- A brief 4 to 5 hour direct sunlight charge powers 6 to 8 hours of continuous, automatic dusk-to-dawn operation.
- Weatherproof ABS construction protects lights against rain, heavy wind, humidity, and winter snow accummulation.
- Mount flat or vertically using 3M adhesive on non-porous surfaces or stainless screws on exterior timber and composite.
Printable Deck Lighting Quick-Reference Cheat Sheet
- 1. UNBOX & UNLOCK: Pull and discard the transparent plastic insulator strip from the back panel.
- 2. INITIAL CHARGE: Face top solar panels directly toward direct sunlight for 4 to 5 hours uninterrupted.
- 3. SENSOR TEST: Cover solar panel with hand or test in dark room to verify automatic dusk activation.
- 4. SURFACE PREP: Clean deck mounting surface thoroughly with rubbing alcohol or soap and water.
- 5. SPACING RULE: Position lights 3 to 4 feet apart on railing posts or center one on each stair riser.
- 6. FASTEN SECURELY: Press 3M tape firmly for 30 seconds or drive stainless screws flat against surface.
Interactive Tool: Deck Lighting & Pack Sizer Calculator
Calculate exactly how many solar deck lights and multi-packs you need based on your staircase steps and railing perimeter length.
Installation & Weatherproofing Performance Matrix
Photo by Bruno Krajski on Pexels
| Deck Surface Material | Recommended Mount Method | Preparation Needed | Weather Durability | Removal Impact |
| --- | --- | --- | --- | --- |
| Pressure-Treated Timber | Stainless Screws | Pre-drill small pilot holes to prevent wood splitting | Maximum hold through freezing winter and wet seasons | Leaves minor screw holes (easily filled with wood putty) |
| Composite Decking | Stainless Screws or 3M Tape | Wipe surface clean of dust and debris; dry completely | High durability; screws preferred in hot/humid climates | Tape removes cleanly with mild heat; no surface holes |
| Vinyl Railing & PVC Fences | Heavy-Duty 3M Tape | Clean mounting spot thoroughly with isopropyl alcohol | Exceptional waterproof bond on smooth non-porous vinyl | Zero damage or holes; removes with heat gun or hairdryer |
| Aluminum & Powdered Metal | Heavy-Duty 3M Tape | Degrease metal surface with rubbing alcohol and dry | High stability; prevents puncturing metal weather seals | No metal holes or rust risk; peeling leaves zero residue |
| Exterior Masonry / Brick Wall | Stainless Screws with Anchors | Drill masonry pilot hole using carbide drill bit | Permanent heavy-duty hold against all climate conditions | Requires concrete patch mortar if uninstalled |
Compare surface materials, ideal mounting hardware, surface preparation, and weather resilience:
Pro Tip: Initial Battery Conditioning & Tab Safety
Always pull out the transparent insulator pull-tab completely prior to your first daytime charge. Because units can lose partial factory charge during storage and transit, giving the top solar panels 4 to 5 hours of direct, unshaded sunlight fully conditions the internal rechargeable battery. Testing the light in a darkened room before mounting ensures every unit is operating perfectly prior to final installation.
Explore Related Solar Deck & Fence Lighting Topics
Expand your knowledge on outdoor solar illumination, step safety layouts, and weatherproofing strategies with these technical topics:
- How to Layout Solar Deck Lights for Maximum Evening Stair Safety
- Weatherproof Outdoor Lighting: How Durable ABS Solar Lights Withstand Snow, Rain, and Wind
- Adhesive 3M vs. Screw Mounting for Solar Deck Lights: Which Is Best for Your Home?
- Unboxing and Troubleshooting Guide for Solar Stair Lights
Frequently Asked Questions About Solar Deck Lights
What is the short answer on Solar Deck Railing & Step Lighting FAQ? Contrary to belief, solar deck lights do not require harsh overhead spotlight glare or complex electrical wiring to keep your steps safe at night. Mount compact warm-white lights 3 to 4 feet apart on stair risers or railing posts, pull out the clear insulator tab, charge in direct sun for 4 to 5 hours, and secure with 3M tape or screws for 6 to 8 hours of automatic, glare-free night lighting.
How do you choose between the options in Solar Deck Railing & Step Lighting FAQ? → Yes: Screw mounting is recommended to avoid adhesive failure during severe freeze-thaw cycles.
What should you do next? For staircases wider than 5 feet, install two fixtures per riser spaced 3 feet apart to eliminate dark shadow zones.
Recommended Solution: Warm White Solar Powered Deck Light Packs
Upgrade your outdoor steps, deck railings, and fence lines with glare-free warm illumination. Designed with durable waterproof ABS plastic construction, automatic dusk-to-dawn sensors, and complete dual mounting kits (screws and 3M adhesive included).
Next Steps for Your Outdoor Deck Lighting Project
Your decision: Choose the exact deck placement areas (stair risers, railing posts, or fence panels) and confirm whether 3M tape or screw fasteners suit your surface material.
Do this next: Pull out the transparent pull-tab insulator on each unit, charge under direct sunlight for 4 to 5 hours, and mount 3 to 4 feet apart for continuous, glare-free dusk-to-dawn security.
Related resource: Download our printable deck installation checklist and spacing planner guide.
Order your Solar Powered Deck Lights (Pack) directly from our official store with custom mounting kits included.
Take action today to transform your deck into a safe, warm, and inviting nighttime haven.
Cover photo by Plato Terentev on Pexels.