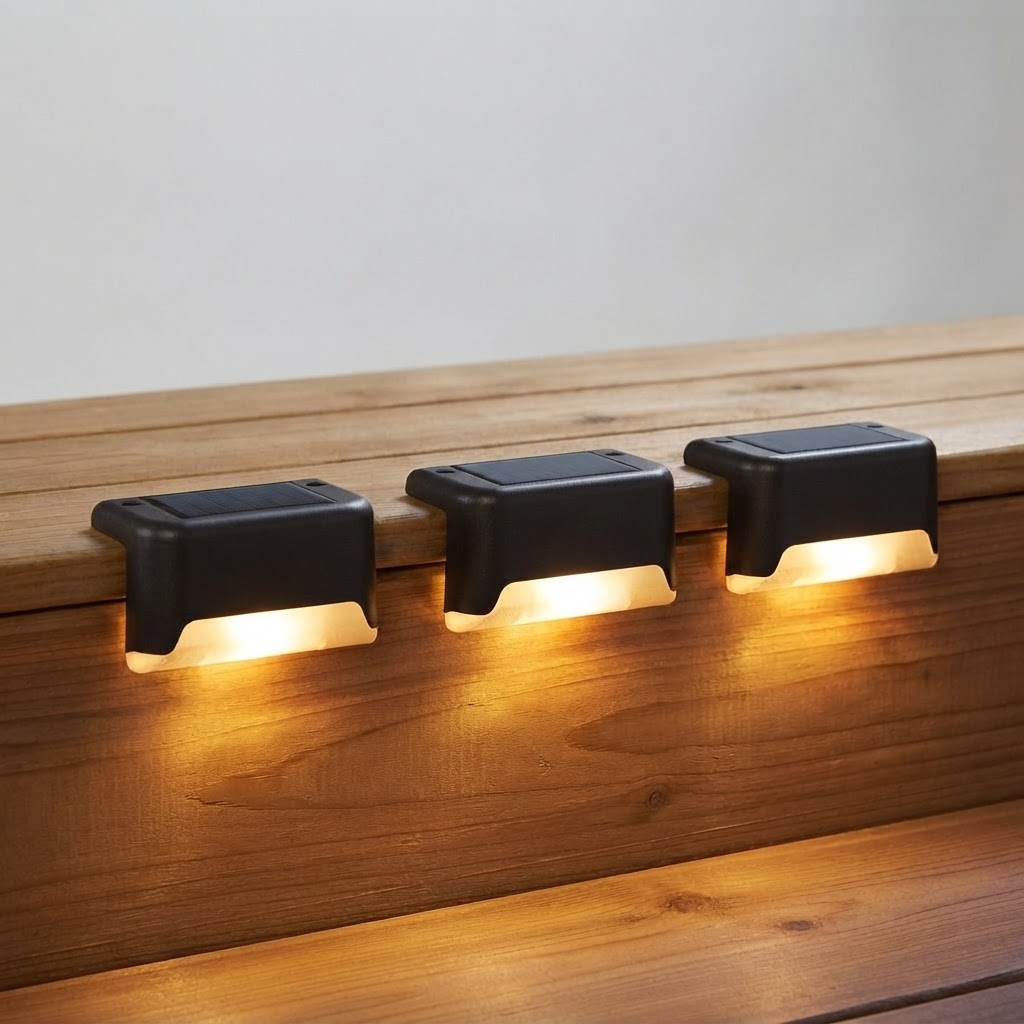
How to Light Outdoor Stairs Safely at Night: The Complete Guide
How to Light Outdoor Stairs Safely at Night: The Complete Guide
Navigating outdoor staircases after dusk poses a severe risk of trips and falls if proper illumination is missing. Whether you are managing wooden deck steps, stone garden treads, or front porch stairways, achieving safe visibility requires strategic planning. The goal is to illuminate each tread clearly without generating blinding glare that hinders sight.
The Hidden Dangers of Unlit Outdoor Stairs
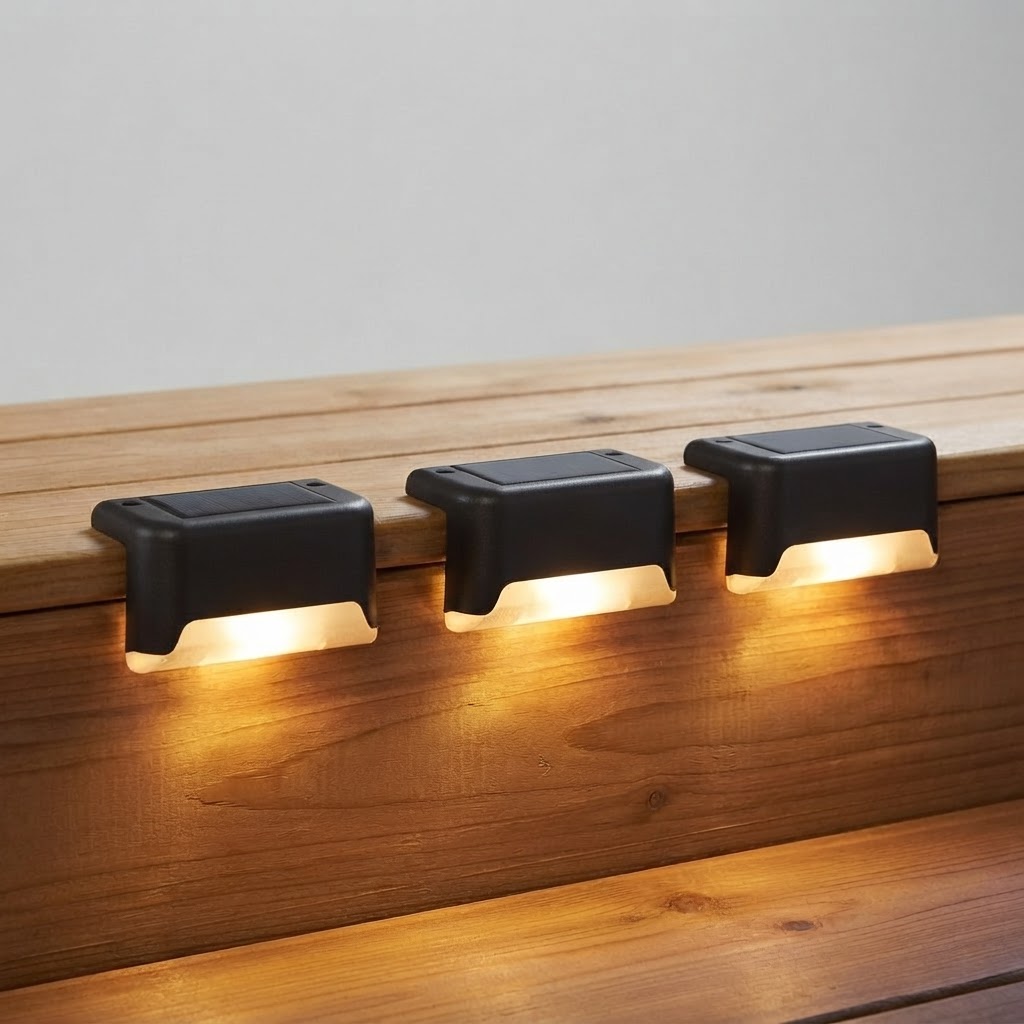
Inadequate outdoor lighting is one of the leading causes of residential slips at night. Deep shadows can obscure step edges, making it difficult to judge the depth or distance of individual steps. Furthermore, harsh glare from misplaced high-intensity floodlights can temporarily dazzle eyes adjusted to the dark. To create a secure walkway for family and guests, lighting must highlight step edges evenly while preserving natural night vision.
Key Principles of Safe Stair Illumination
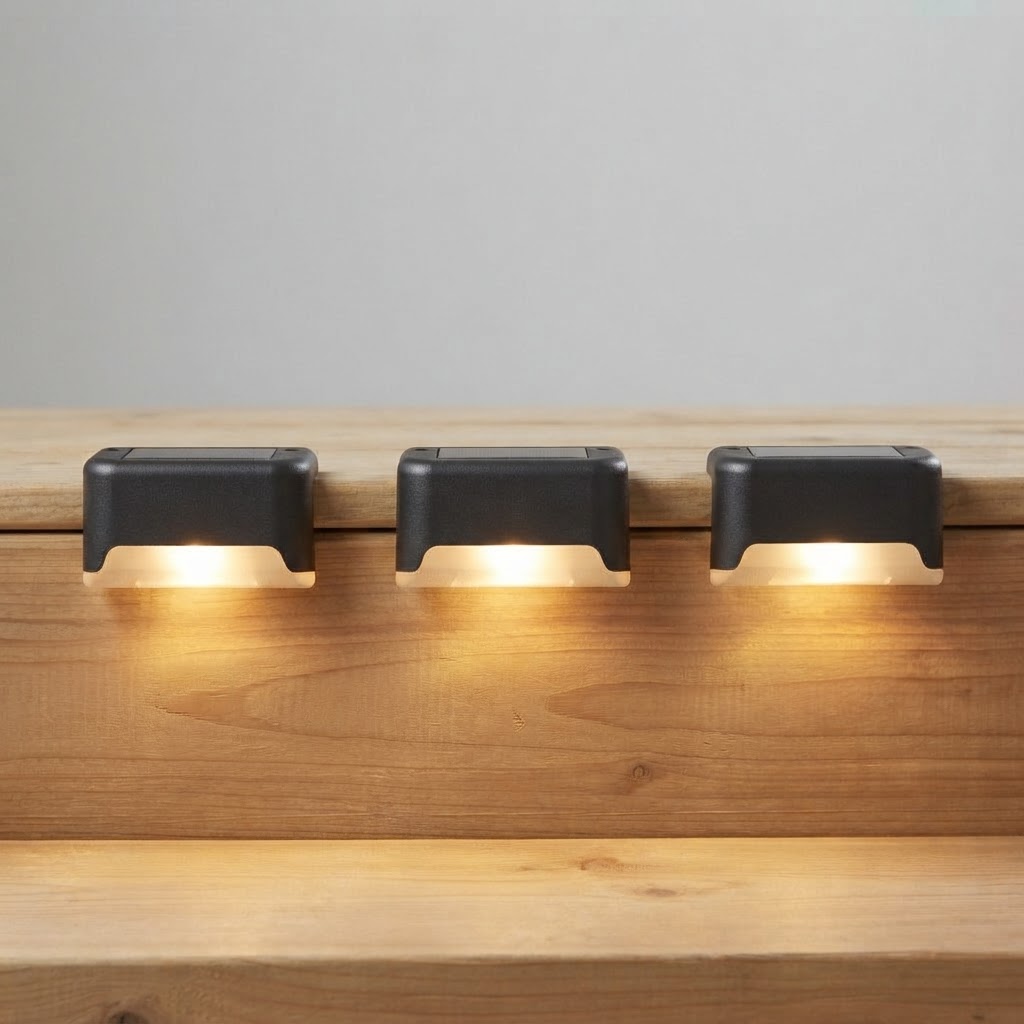
To maximize safety across outdoor stairs, follow these essential lighting guidelines:
- Non-Dazzling Warm Illumination: Harsh cold white light creates intense contrast and glare. Utilizing a warm white color temperature produces gentle illumination that highlights treads without bothering anyone's sight, making nighttime strolls significantly safer.
- Consistent Tread Visibility: Every single step should be clearly delineated. Placing accent lights flat on the rise or vertically on the side post ensures shadows do not hide the lip of the tread.
- Automated Operation: Relying on manual switches increases the risk of walking onto dark stairs. Automatic dusk-to-dawn activation ensures steps are illuminated the moment sunlight fades.
Solar vs. Hardwired Lighting for Exterior Steps
When evaluating step illumination, homeowners traditionally choose between low-voltage hardwired systems and self-contained solar fixtures.
Traditional hardwired lights require cutting into risers, running underground conduits, and connecting to a central transformer. While reliable, professional installation costs can quickly add up.
Conversely, modern solar stair lights eliminate complex wiring. Powered by integrated panels, these units charge in 4-5 hours under direct sunlight and operate automatically for 6-8 hours through the night. Constructed from durable ABS plastic, quality solar fixtures withstand rain, snow, and wind without warping or deforming.
Step-by-Step Installation: Screws vs. Adhesive Mounts
Installing solar deck lights is straightforward and can be completed in minutes without specialized electrical tools:
Maintaining Nighttime Safety in Rain, Snow, and Wind
Exterior lights face constant exposure to weather extremes. Fixtures built from rugged ABS plastic provide reliable resistance against water ingress and impact damage. Periodic maintenance involves wiping dust or snow off the top solar panel to ensure maximum sunlight absorption during winter months.
Related in this cluster
- Why Warm White Light is Essential for Nighttime Stair Safety
- How to Install Solar Stair Lights Using Screws or 3M Adhesive
- Solar vs. Hardwired Step Lights: Which is Best for Your Deck?
- 5 Strategic Placement Spots for Solar Outdoor Step Lights
- Eliminate Nighttime Deck Trips with Solar Powered Deck Lights
- Frequently Asked Questions About Solar Deck and Stair Lights