How to Setup and Care for Your Solar Stair Lights: Unboxing and Troubleshooting Guide
Setup and care for solar stair lights start in the box: pull the insulator tab, charge the panel in sun for 4–5 hours, confirm the warm white glow in a dark space, then mount on the riser with screws or 3M adhesive. Care after that is keeping the panel clear so dusk-to-dawn can still deliver 6–8 hours. Troubleshooting a stair unit is the same short list: tab still in, charge never finished, or the mount sits in shade. Do not skip unboxing steps and then treat the first dark night as a defect.
Unboxing is a three-step activation, not a pile of parts
Open the pack and find the transparent plastic strip on the back of each light. That strip is the insulator tab. Remove it so the unit can work normally. There is no switch to flip. The tab is the on-ramp to automatic dusk-to-dawn.
Transport can leave the product empty. Face the solar panel toward the sun for 4–5 hours before trusting a stair. After that charge, put the light in a dark room or a bag. If the warm white glow appears, the unit is ready to mount. If it stays dark, keep the tab out and give it another full sun window rather than drilling the riser around a dead fixture.
Keep spare units in the box with tabs still in only if they are true spares. A spare that sits in a drawer with the tab out will drain. A spare with the tab in stays quiet until the next stair needs it.
Mount care is stair geometry plus sky
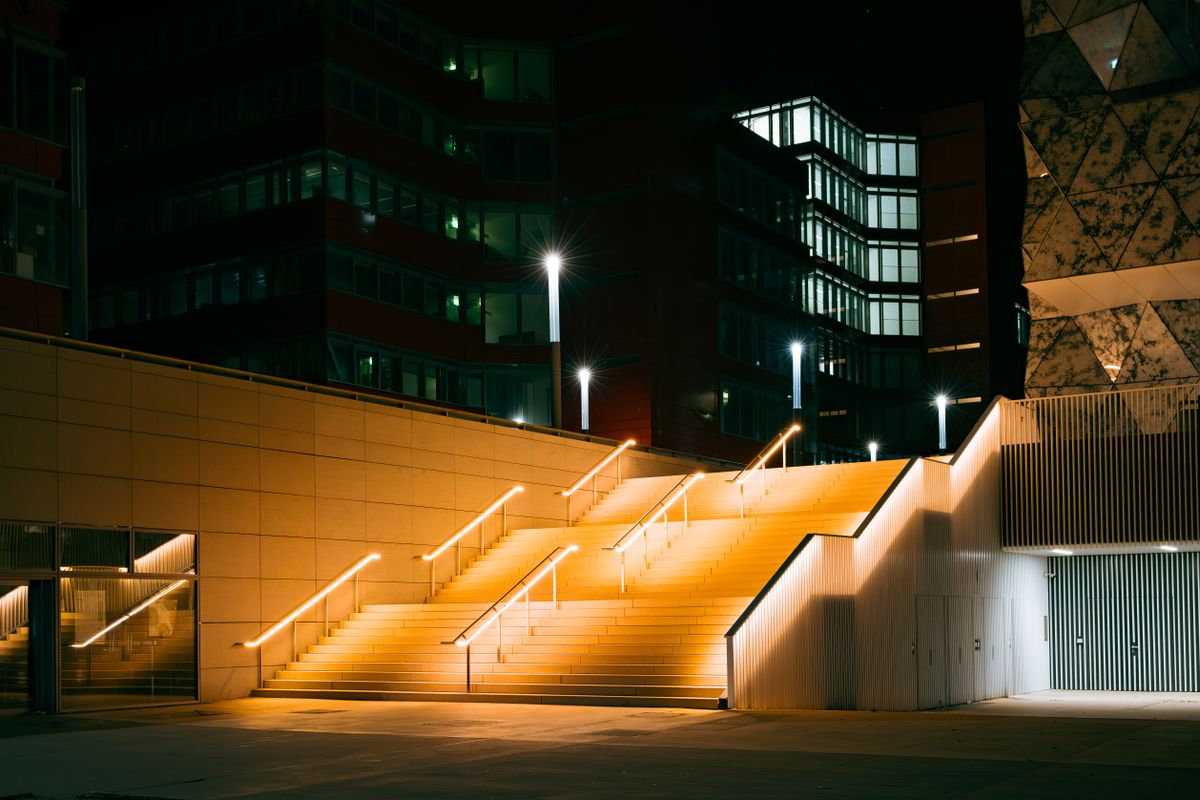
A stair light has two jobs after unboxing: show the nosing and eat sun. Vertical mounts on the riser often hide the lamp below the tread line, which is easier on eyes. Flat mounts work when that plane is the one that sees sky. Screws suit sound wood. 3M adhesive suits a clean, dry, smooth riser face. Either can fail the care test if the panel looks at a soffit all afternoon.
Warm white that is not dazzling is the specified glow. Aim it at the walking surface. A unit twisted toward faces during a hurried install will be called too bright, then ripped down, when a quarter-turn would have finished the setup.
ABS housings stay out in rain, snow, and wind. Care is not packing the stair lights away for every cloud. Care is a wipe and a check that the mount is still square after a storm.
Unboxing and care versus later troubleshooting
| Stage | What to do | If skipped | | --- | --- | --- | | Unbox | Pull the insulator tab | Unit never enters auto mode | | First charge | 4–5 hours of panel-to-sun time | First night stays dark | | Dark test | Confirm warm white in a dark space | A dead unit gets mounted as if it worked | | Mount | Screws or 3M, vertical or flat, sky plus nosing | Shade kills the 6–8 hour night | | Weekly care | Wipe pollen, leaves, and dust off the panel | Charge window shrinks | | Seasonal care | Brush snow; check mounts after wind | Housing is fine, bank is empty |
Troubleshooting after the stair is already in service
If a unit that used to finish the evening dies early, start with the panel, not a replacement pack. Shade from new planters, a grill lid, or summer leaves can steal the 4–5 hour charge. Move the mount to a sunnier riser face or a cap that still marks the step.
If it never lights, check the tab first. A strip left in during a rushed unboxing is the most common support miss. Next, repeat a full sun charge and the dark-room test. Only then treat the piece as failed.
Do not hose the stair and then park the lamp in a puddle of mulch. Weatherproof ABS is not a request to bury the cell. Runtime of 6–8 hours is the full-charge figure. Short winter days and dirty glass both cut that bank. That is expected care, not a hidden defect.
Solar stair light unboxing and care checklist
Photo by Markus Spiske on Pexels
- Remove the transparent insulator tab on every unit that will be used.
- Charge each panel toward the sun for 4–5 hours.
- Confirm warm white glow in a dark environment before mounting.
- Mount on a riser or cap that marks the nosing and sees open sky.
- Use screws on lasting wood or 3M adhesive on a clean, dry, smooth face.
- Wipe panels on a regular outdoor-cleaning day, not only when nights fail.
- Brush snow and re-square mounts after wind; keep true spares with tabs in.
Frequently asked questions
Can solar stair lights be cared for like indoor lamps?
No. They live outside. Wipe the panel, brush snow, and check mounts. There is no wall switch and no indoor dusting cycle that replaces sun.
Should units be stored all winter?
ABS is meant to withstand snow, rain, and wind. Storage is optional. If they stay up, keep panels clear so a 4–5 hour charge can still happen on short days.
What if one stair light in a flight is always dim?
That riser is often the shaded one. Move it to a sunnier face or accept that this step cannot support a full 6–8 hour night.
Is unboxing complete when the plastic tray is in the recycle bin?
No. Unboxing includes tab pull, first charge, and a dark test. The tray is the least important part.
Do stair lights need a different care routine than deck-rail lights?
The tab, charge, and panel wipe are the same. Stair units just have a stricter aim: the nosing must stay visible, so a tilted mount after wind is a safety issue, not only a look issue.
Related reading
These published guides cover switchless activation, setup FAQ, and install troubleshooting so stair care stays a short list.
- first-time setup and pull-tab guide for automatic solar stair lights
- solar stair light setup, charging, and mounting FAQ
- initial setup and pull-tab troubleshooting for deck lights
- frequently asked questions about solar deck and stair lights
What to do next
Finish unboxing on the actual stair pack: pull every insulator tab, charge panels 4–5 hours in open sun, and dark-test the warm white glow. Mount on risers that show the nosing, then put panel wipes on the same day as other outdoor cleaning so 6–8 hour nights stay in the routine.
Cover photo by Taryn Elliott on Pexels.