Solar Stair Light Setup Guide: Initial Activation, Charging & Mounting FAQ
To set up outdoor stair solar lights, remove the transparent plastic insulator tab on the back of the unit, charge the light in direct sunlight for 4 to 5 hours, and test activation in a dark room before permanent mounting. Fasten units flat or vertically to stair risers using included 3M adhesive tape or stainless steel screws to deliver 6 to 8 hours of soft, glare-free warm white illumination from dusk to dawn.
Pre-Installation & Setup Checklist
- [ ] Unpack solar light fixtures and inspect durable ABS plastic casing and solar panels for shipping damage.
- [ ] Pull out transparent plastic insulator tabs located on the back of all light units.
- [ ] Expose solar panels to direct, unobstructed sunlight for 4 to 5 hours for complete initial battery charge.
- [ ] Conduct a dark-room or palm-cover sensor test to confirm automatic warm white light activation.
- [ ] Clean deck mounting surface with isopropyl alcohol if installing via 3M heavy-duty adhesive tape.
- [ ] Mark pilot holes with pencil if installing on wooden stairs with stainless steel mounting screws.
Step-by-Step Activation and Installation Guide
Photo by Thomas Hellmann on Pexels
Follow these four essential steps to ensure your solar deck lights operate at peak brightness and run reliably all night long.
Step 1: Remove the Transparent Insulator Pull-Tab
Unlike conventional outdoor fixtures, solar stair lights feature a switchless design for superior weather sealing. Locate the transparent plastic insulator strip on the rear housing of each fixture. Firmly pull the strip straight out. This connects the internal pre-installed rechargeable battery to the automatic control circuit.Step 2: Complete the Initial 4 to 5 Hour Direct Sunlight Charge
During storage and transit, internal battery reserves naturally deplete. Before mounting lights on your staircase, place all fixtures outdoors in a location receiving direct, unshaded sunlight. Position the solar panels facing straight up or toward the southern sky. Allow 4 to 5 hours of full solar exposure to bring the internal battery to maximum capacity.Step 3: Conduct the Dark-Room Functionality Test
Because solar lights feature built-in optical dusk-to-dawn photo sensors, they will not illuminate in daylight. To verify normal operation before mounting, bring the charged units into a darkened room or place your hand completely over the solar panel. The light should immediately glow with a soft, warm white color without dazzling your eyes. If it lights up, your unit is fully functional.Step 4: Mount Fixtures Using 3M Adhesive or Screws
Select vertical stair risers or flat step edges for installation:- 3M Adhesive Tape Mount: Clean the target surface thoroughly with rubbing alcohol to remove dust and oils. Peel the protective backing from the 3M adhesive strip, press it firmly to the rear of the fixture, and align the light on the clean deck plane. Hold firmly for 30 seconds.
- Screw Mounting: Hold fixture in target position on timber or pressure-treated wood risers. Mark screw hole locations with a pencil. Pre-drill small pilot holes, align the light mounting holes, and secure tightly with the included stainless steel screws.
Quick-Fix Performance & Troubleshooting Matrix
| Issue / Symptom | Probable Cause | Recommended DIY Solution |
| --- | --- | --- |
| Light does not illuminate at dusk | Insulator tab still inserted or battery uncharged from shipping | Pull out transparent rear tab; charge solar panel in direct sunlight for 4–5 hours. |
| Light turns on briefly then turns off (< 3 hours runtime) | Solar panel shaded by roof overhang, railing, or winter solar angle | Reposition light to an unshaded area on step riser receiving 4–5 hours of direct daylight. |
| Light flickers rapidly or shuts off during nighttime walk | Nearby porch light or streetlight shining directly onto solar panel | Relocate light away from artificial light sources that confuse the internal dusk sensor. |
| Fixture detaches from deck step | 3M adhesive applied to wet, dirty, or unsealed wood surface | Wipe deck surface with alcohol, dry completely, and apply new 3M tape or mount using screws. |
If your solar stair lights do not perform as expected on night one, use this quick reference table to diagnose and resolve common issues instantly.
Immediate Action Steps for Safe Outdoor Lighting
Your decision: Determine whether your stair material supports 3M tape adhesive or requires screw fasteners.
Do this next: Unpack your solar lights, remove all transparent insulator tabs, and place units in direct southern sunlight for 4 to 5 hours for the initial charge.
- Read next: Screw-In vs. 3M Adhesive Solar Step Lights
- Read next: Weatherproof ABS Solar Lights in Snow and Rain
Solar Powered Deck Lights (Pack) - Warm White Glare-Free Outdoor Lighting
Prepare your outdoor steps today for enhanced family walking safety after dark.
Core Performance Highlights & Best Practices
- Switchless Activation: Simply pull the transparent rear insulator tab; no manual switches to flip or weatherproof seals to break.
- Quick Solar Charging: Requires only 4 to 5 hours of direct daylight to provide 6 to 8 hours of continuous night illumination.
- Soft Warm Light: Engineered to emit a warm white glow that illuminates stair hazards without dazzling strollers or disrupting neighbors.
- All-Weather Durability: Built from thick ABS plastic engineered to withstand rain, heavy snow, and thermal warping.
- Dual Mounting Versatility: Installs in under two minutes per step using either heavy-duty 3M double-sided tape or stainless steel wood screws.
3M Adhesive Tape vs. Screw Mounting Side-by-Side Comparison
| Feature / Attribute | 3M Double-Sided Adhesive | Stainless Steel Screws |
| --- | --- | --- |
| Best Deck Material | Smooth composite, vinyl decking, metal railings, sealed planes | Pressure-treated timber, rough wood, aged deck stair risers |
| Installation Effort | Zero tools required; press firmly for 30 seconds per light | Requires power drill or screwdriver and pencil alignment |
| Surface Impact | 100% damage-free removal; ideal for temporary or rented spaces | Leaves small pilot screw holes if lights are ever relocated |
| Weather Endurance | Strong water-resistant bond when applied to clean, dry surfaces | Permanent physical lock unaffected by wood swelling or freeze-thaw cycles |
| Ideal Placement | Stair risers, smooth post caps, and flat step trim | High-impact stair treads, garden wooden borders, outdoor walls |
Compare both mounting methods to choose the best option for your deck material and climate conditions.
Choosing the Right Mounting & Placement Strategy
Match your mounting method to your deck material: use drill-free 3M tape for smooth composite surfaces and stainless steel screws for outdoor timber or rough wood.
Best choice for
- 3M Heavy-Duty Double-Sided Adhesive — Attaches securely to clean flat planes or vertical risers without damaging composite deck finishes or voiding warranties.
- Stainless Steel Screw Fasteners — Provides a permanent mechanical anchor that withstands natural wood expansion, contraction, and heavy foot traffic.
- Placing lights directly under deep roof overhangs, wide top handrails, or dense tree canopies where direct sunlight cannot hit the panel for 4-5 hours.
- Hardwired low-voltage LED stair lighting — Best option only if your staircase is in 100% full daily shade with zero access to sunlight.
Featured Soft Warm-White Solar Deck Light Pack
Upgrade your home's outdoor walkways and stairways with our multi-pack solar stair lights engineered for maximum safety, durability, and effortless installation.
Warm Light without Dazzling: The solar deck lights create a warm white color that would not be a bother to anybody's sight, which is safer for the whole family to make stroll at night.
Easy Installation: The deck lights solar powered can be installed in anywhere that can be fixed. Both screws and 3M glues can easily mount the deck lights either vertically or flatly on the plane.
Automatic Work Mode: The solar stair light has no switch, just pull out the insulator tab to use. On sunny days, it takes only 4-5 hours to be fully charged and it can work 6-8 hours during the night. It can turn on automatically at dusk and turn off at dawn.
Waterproof & Durable: Constructed from durable ABS plastic, these solar outdoor lights can withstand various weather conditions and are not easily deformed by wind, snow, or rain.
Widespread Use: The solar fence lights outdoor perfect for illuminating stairs, paths, gardens, decks, also use lighting front door, back yard, driveway, garage, outdoor wall and so on.
Ready to make your outdoor stairs safe and beautifully illuminated? Explore our warm white Solar Powered Deck Lights (Pack) with fast setup today!
Technical Specifications & Hardware Parameters
| Parameter / Specification | Technical Detail |
| --- | --- |
| Light Output Color | Soft Warm White (3000K, Glare-Free) |
| Charge Time Requirement | 4 to 5 hours under direct solar exposure |
| Nighttime Operational Runtime | 6 to 8 hours continuous illumination from dusk to dawn |
| Housing & Lens Material | High-impact, waterproof ABS plastic casing |
| Switching Mechanism | Switchless automatic light sensor with rear insulator pull-tab |
| Included Mounting Hardware | 3M double-sided adhesive pads & stainless steel wood screws |
| Application Zones | Stair risers, deck steps, garden fences, driveways, walls |
Detailed engineering metrics for our waterproof solar stair lighting fixtures.
Visual Installation Diagrams & Solar Panel Alignment Specs
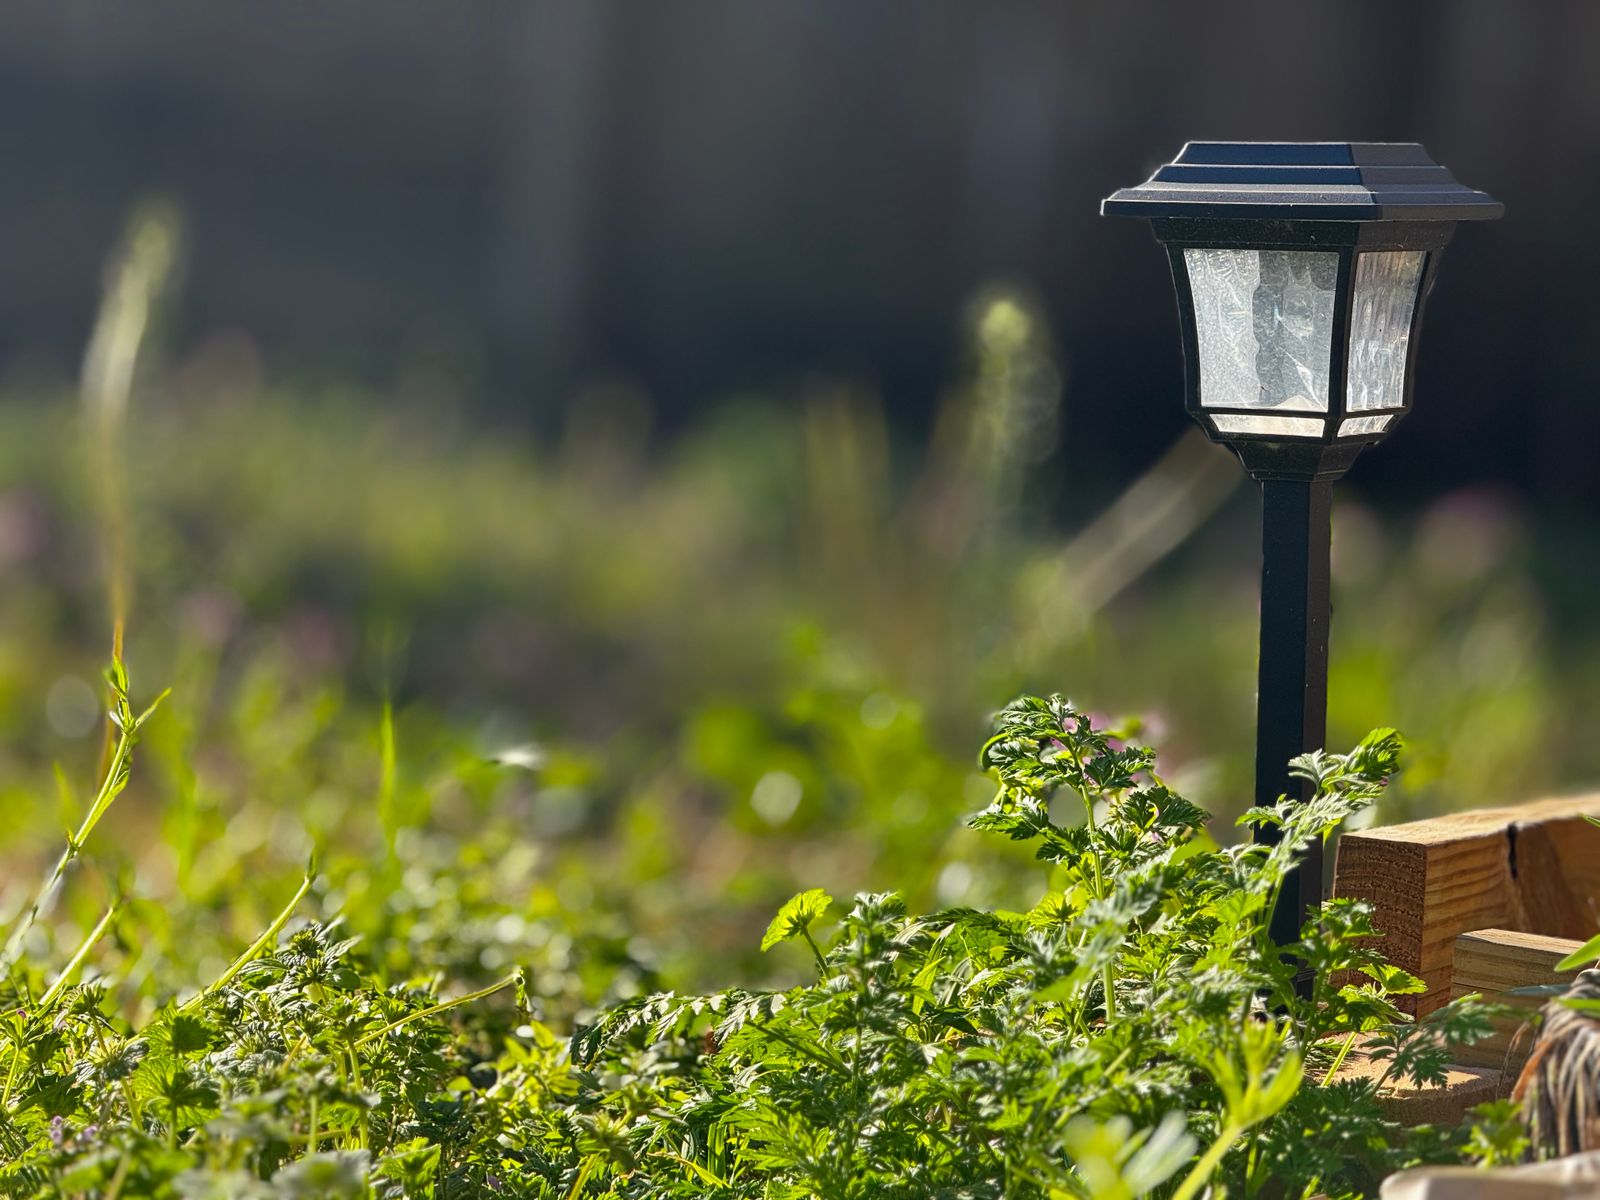
Refer to this diagram specification for visual guidance on positioning solar panels relative to stair treads and direct sunlight angles.
5 Critical Setup Mistakes That Cause Solar Light Failure
Avoid these five frequent installation errors to ensure your solar stair lights operate at maximum efficiency.
First 24 Hours: Charging & Activation Timeline
- Minute 0 — Unpack light fixtures and remove all rear transparent plastic insulator pull-tabs.
- Hours 1 to 5 — Place fixtures in direct, unshaded sunlight for 4–5 hours for full initial charge.
- Hour 5 (Pre-Mounting) — Cover solar panel with palm or test in dark room to confirm automatic warm white glow.
- Hour 5.5 — Clean deck stair surface with alcohol (for 3M tape) or pre-drill pilot holes (for screws).
- Dusk (Night 1) — Lights activate automatically, providing 6–8 hours of safe, glare-free stair illumination.
Frequently Asked Questions: Charging, Waterproofing, and Maintenance
What is the short answer on Solar Stair Light Setup Guide? To set up outdoor stair solar lights, remove the transparent plastic insulator tab on the back of the unit, charge the light in direct sunlight for 4 to 5 hours, and test activation in a dark room before permanent mounting. Fasten units flat or vertically to stair risers using included 3M adhesive tape or stainless steel screws to deliver 6 to 8 hours of soft, glare-free warm white illumination from dusk to dawn.
How do you choose between the options in Solar Stair Light Setup Guide? Use these practical recommendations to decide how and where to position your solar deck lights for optimal safety and longevity.
What should you do next? To set up outdoor stair solar lights, remove the transparent plastic insulator tab on the back of the unit, charge the light in direct sunlight for 4 to 5 hours, and test activation in a dark room before permanent mounting.
Pre-Installation & Setup Checklist - [ ] Unpack solar light fixtures and inspect durable ABS plastic casing and solar panels for shipping damage.
What should you do next? To set up outdoor stair solar lights, remove the transparent plastic insulator tab on the back of the unit, charge the light in direct sunlight for 4 to 5 hours, and test activation in a dark room before permanent mounting.
Clear answers to top questions about setup, operation, and weather endurance for solar deck lights.
Related Stair & Deck Safety Guides
Explore additional guides to help plan and maintain your outdoor lighting setup:
- Screw-In vs. 3M Adhesive Solar Step Lights
- Weatherproof ABS Solar Lights in Snow and Rain
- Solar Deck Light Setup & Troubleshooting Guide
Ready to Transform Your Outdoor Deck Steps?
Your decision: Determine whether your stair material supports 3M tape adhesive or requires screw fasteners.
Do this next: Unpack your solar lights, remove all transparent insulator tabs, and place units in direct southern sunlight for 4 to 5 hours for the initial charge.
- Read next: Screw-In vs. 3M Adhesive Solar Step Lights
- Read next: Weatherproof ABS Solar Lights in Snow and Rain
Solar Powered Deck Lights (Pack) - Warm White Glare-Free Outdoor Lighting
Making your home's outdoor stairs safe and welcoming at night has never been simpler.
Cover photo by John Baker on Pexels.