Solar Deck Light Multi-Packs: Frequently Asked Questions on Waterproofing, Warm Lighting, and Run Times
Solar Deck Light Multi-Packs: Frequently Asked Questions on Waterproofing, Warm Lighting, and Run Times
Picture stepping onto your back deck on a dark evening—whether guiding kids down stair steps, entertaining guests, or taking a peaceful night stroll—without facing harsh, blinding floodlights or tripping in shadows. Solar deck light multi-packs deliver warm white, glare-free illumination that keeps pathways safe without dazzling your eyes. They require no electrical wiring: simply pull out the transparent plastic insulator tab on the back, let the solar panel charge in direct sunlight for 4 to 5 hours, and enjoy 6 to 8 hours of automatic dusk-to-dawn lighting. Built from durable, weatherproof ABS plastic, these compact fixtures mount vertically on step risers or flat on post caps using included 3M heavy-duty adhesive tape or stainless steel screws.
Which Solar Deck Light Pack Size and Setup Meets Your Needs?
Selecting multi-packs depends on deck step count, stair perimeter length, and surface drilling preferences.
Best choice for
- 3M Heavy-Duty Glue Tape Surface Mount — Secures instantly flat or vertically on smooth deck edges and post caps without wood splitting or voiding composite deck manufacturer warranties.
- Stainless Steel Screw Mounting — Provides permanent mechanical anchoring into timber, stair risers, or post caps that withstand heavy foot traffic, direct snow pressure, and high wind.
- Avoid mounting solar light panels directly under deep roof overhangs, covered porch ceilings, or dense tree canopies that block direct sunlight exposure during the 4 to 5 hour daily charge window.
- Hardwired Low-Voltage Deck Lighting — Requires professional electrical wiring, transformer installation, structural trenching, and significantly higher upfront labor expenses.
Recommended Setup Strategy: Quick Start for Solar Deck Light Multi-Packs
The Ideal Multi-Pack Solar Lighting Setup
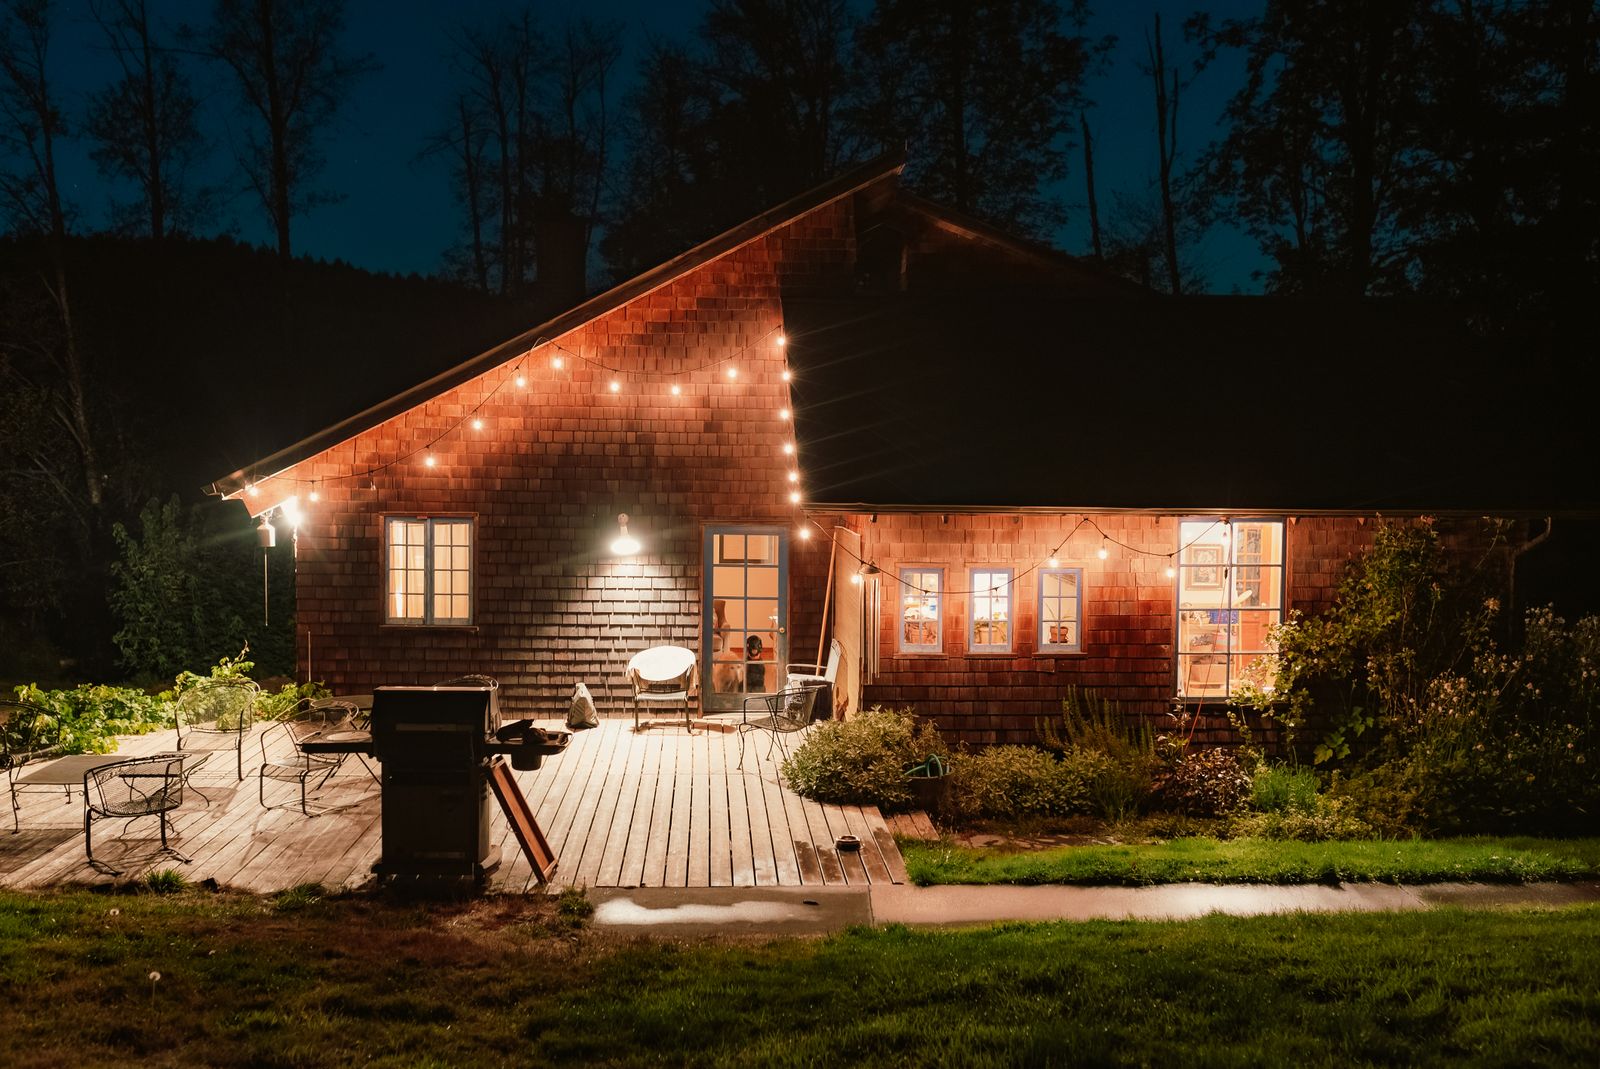
For most residential decks, installing one light per stair step riser and placing fixtures every 3 to 4 feet along perimeter railings or fence lines creates an evenly balanced, eye-safe warm white path.
- Step 1 (Unboxing): Unpack all lights and pull out the transparent plastic insulator tab located on the back of each unit.
- Step 2 (First Solar Charge): Set all units under direct sunlight for 4 to 5 hours prior to permanently mounting them.
- Step 3 (Operational Check): Move the lights into a dark room or cover the solar panel with your hand to confirm that the soft warm white LED automatically illuminates.
- Step 4 (Mounting): Clean the target surface thoroughly before pressing down with included 3M adhesive tape, or secure firmly with stainless steel screws.
Troubleshooting Common Setup & Performance Issues
| Problem | Root Cause | Solution | Prevention |
| --- | --- | --- | --- |
| Light will not turn on at night | Transparent plastic insulator tab still attached or internal battery discharged | Pull out the transparent plastic strip on the back of the light; charge solar panel in direct sun for 4-5 hours | Always remove insulator tabs and perform an initial solar charge upon unboxing |
| Light turns off after only 1 to 2 hours | Insufficient daytime sunlight exposure due to shade, winter sun angles, or dirty solar panel lens | Relocate fixture to an unshaded spot receiving 4-5 hours of unshaded sunlight; wipe solar panel lens with a soft, damp cloth | Keep solar panels clear of fallen leaves, dirt accumulation, and snow cover |
| Adhesive tape unsticking from deck riser | Mounting surface was dusty, wet, oily, or unsealed prior to applying 3M glue tape | Clean surface thoroughly with rubbing alcohol, let dry completely, apply fresh 3M tape, and press firmly for 30 seconds | Avoid applying adhesive tape to rough-sawn unsealed timber or damp surfaces |
If a fixture fails to illuminate or exhibits reduced runtime after unboxing, refer to this quick diagnostic matrix before requesting a return.
Next Steps to Complete Your Solar Deck Lighting Setup
Your decision: Determine your total step count and railing perimeter length to order the ideal multi-pack bundle quantity.
Do this next: Order your Solar Powered Deck Light Multi-Pack today from https://solarpowerdecklights.com and prepare your mounting surfaces with a quick wipe down before installation.
Related resource: https://solarpowerdecklights.comhttps://solarpowerdecklights.com
Ready to transform your deck, garden stairs, or patio into a safe, warmly lit outdoor retreat?
Key Takeaways for Solar Deck Light Multi-Pack Buyers
- Non-Dazzling Warm Lighting: Warm white LED output provides clear step visibility without blinding family members or causing glare during night walks.
- Simple 3-Step Setup: Remove the clear insulator tab on the back, charge in direct sun for 4–5 hours, and test in the dark before mounting.
- Automatic Operation: Built-in daylight sensors manage charging during the day and automatically trigger 6–8 hours of nighttime light from dusk to dawn.
- Dual Mounting Flexibility: Secure vertically on stair risers or flat on railing tops using included heavy-duty 3M adhesive tape or stainless steel screws.
- Weatherproof ABS Plastic: Constructed from durable ABS material engineered to resist rain, snow, wind deformation, and freezing winter temperatures.
Featured Multi-Pack Solar Deck Lighting Solutions
Upgrade your outdoor steps, fences, and deck perimeters with energy-efficient, automatic warm white illumination.
Solar Powered Deck Lights (Multi-Pack)
- Key Benefits: Warm glare-free light, wire-free 3-step setup, waterproof ABS weather resistance, dual screw or 3M tape mounting.
- Best For: Deck stair steps, fence posts, garden pathways, driveways, backyards, and front door entryways.
- Runtime & Charge: 4–5 hours direct sunlight charge provides 6–8 hours continuous night illumination.
- Order Directly: Visit SolarPowerDeckLights.com to purchase your multi-pack today.
Mounting Options Compared: 3M Adhesive vs. Stainless Steel Screws
| Feature / Attribute | 3M Heavy-Duty Adhesive Tape | Stainless Steel Fastening Screws |
| --- | --- | --- |
| Installation Time | Under 1 minute per fixture (no drill needed) | 2 to 3 minutes per fixture (drill/driver recommended) |
| Ideal Surface Material | Smooth composite decking, aluminum posts, vinyl railings, painted trim | Natural timber risers, pressure-treated wood, vinyl post caps |
| Surface Damage Risk | Zero structural damage; preserves composite deck warranties and rental properties | Requires drilling small pilot screw holes into mounting surface |
| All-Weather Hold Power | High initial tack; best on thoroughly cleaned, dry, non-porous surfaces | Permanent mechanical anchor; withstands extreme frost, snow, and physical bumps |
| Mounting Flexibility | Flat horizontal caps or vertical stair riser faces | Flat horizontal caps or vertical stair riser faces |
Both mounting methods come included in every multi-pack. Use this side-by-side technical evaluation to choose the best installation approach for your deck surface.
Technical Specification Matrix for Multi-Pack Solar Lights
Photo by eberhard grossgasteiger on Pexels
| Specification Parameter | Product Specification Standard |
| --- | --- |
| Light Color Temperature | Warm White (Eye-safe, glare-free soft glow) |
| Solar Charging Time | 4 to 5 Hours in direct, unshaded daylight |
| Nightly Illumination Duration | 6 to 8 Hours continuous run time |
| Automatic Sensor Control | Dusk-to-dawn auto switch (Turns on at dusk, off at dawn) |
| Activation Requirement | Remove transparent plastic insulator strip on rear side |
| Housing Material | High-impact, weather-resistant ABS plastic |
| Installation Accessories Included | Stainless steel mounting screws and heavy-duty 3M glue strips |
| Primary Application Areas | Stairs, deck risers, railings, fences, yard paths, driveways, garages |
Review the full performance characteristics and material specifications of these solar deck lights.
Common Installation & Setup Mistakes to Avoid
Avoid these common setup errors to ensure maximum brightness, battery life, and fixture longevity:
Frequently Asked Questions: Operation, Charging & Performance
What is the short answer on Solar Deck Light Multi-Packs? Picture stepping onto your back deck on a dark evening—whether guiding kids down stair steps, entertaining guests, or taking a peaceful night stroll—without facing harsh, blinding floodlights or tripping in shadows. Solar deck light multi-packs deliver warm white, glare-free illumination that keeps pathways safe without dazzling your eyes.
Which Solar Deck Light Pack Size and Setup Meets Your Needs? Solar deck light multi-packs deliver warm white, glare-free illumination that keeps pathways safe without dazzling your eyes.
How do you choose between the options in Solar Deck Light Multi-Packs?
Next Steps to Complete Your Solar Deck Lighting Setup Your decision: Determine your total step count and railing perimeter length to order the ideal multi-pack bundle quantity.
What should you do next? Solar deck light multi-packs deliver warm white, glare-free illumination that keeps pathways safe without dazzling your eyes.
Related Solar Deck Lighting Resources
Explore additional sizing tips and purchasing options for your outdoor lighting project:
- For complete product specs and multi-pack availability, visit SolarPowerDeckLights.com.
- Learn how to plan multi-pack quantities for stair risers and deck perimeters to achieve complete, glare-free pathway safety.
Summary & Ordering Instructions
Your decision: Determine your total step count and perimeter measurements to select your solar deck light multi-pack.
Do this next: Visit https://solarpowerdecklights.com to place your order. Once received, remove the rear insulator tabs, solar charge for 4 to 5 hours, and mount effortlessly using screws or 3M tape.
- Read next: Order Solar Powered Deck Lights (Multi-Pack)
https://solarpowerdecklights.com
Bringing warm, wire-free safety lighting to your home's outdoor stairs and walkways has never been easier.
Cover photo by Maximilian Ruther on Pexels.