
How to Install Solar Deck Lights Without Drilling: Step-by-Step 3M Tape Guide
Install solar deck lights without drilling by using the 3M adhesive option on a clean, dry, smooth plane, either vertical or flat. Wipe the surface, apply the tape to the fixture back, press firmly, and let the bond set before the first storm. Pull the insulator tab, charge the panel 4-5 hours in sun, then confirm the warm white glow in a dark environment. Screws exist for wood that should be fastened, but they are not required for a no-hole deck, railing, or rental stair.
When a no-drill mount is the right install
No-drill is a lease, a composite rail, a painted cap, or a weekend with no bit. Solar deck lights mount with screws or 3M adhesive, vertical or flat. This guide uses only the tape path. If the board is rough, rotten, or constantly wet, tape will fail and the fixture will sit on the stair. That is a safety miss, not a small mess.
Choose planes people do not kick: the riser face, the inside of a rail, a fence board above foot traffic. A tread nosing that gets boots and ice melt is a poor tape site even if it is convenient.
Warm white that is not dazzling still needs aim. Stand on the stair below and check that the lamp does not punch into eyes before the adhesive cures.
Surface prep is the whole job
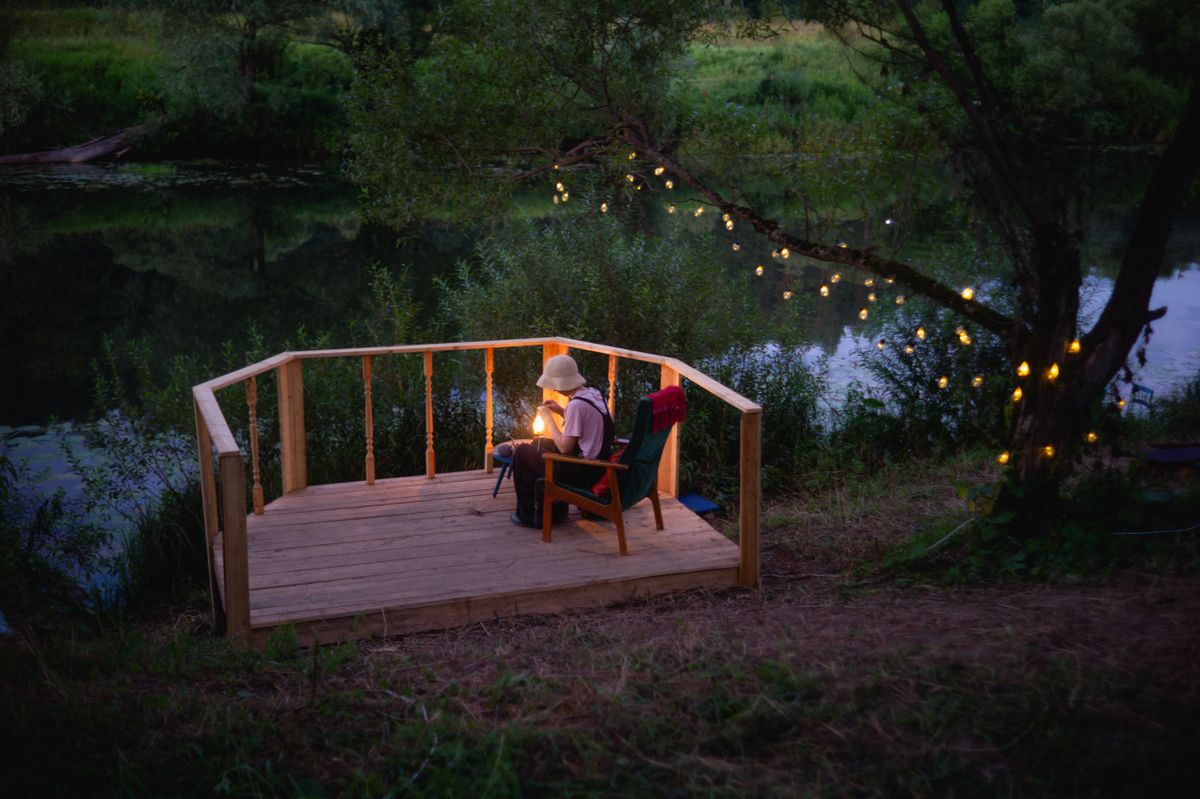
Photo by Daniil Ustinov on Pexels
Tape sticks to clean, dry, smooth material. Dust, pollen, tacky sealer, and morning dew all sit between the adhesive and the board. Wipe with a dry cloth. If the plane is greasy from grill smoke, a mild wipe and a full dry are required. Do not mount in the rain. Cold, wet wood is a delay; wait for a dry window. Peeling paint should be scraped to a sound patch or the tape will hold the film, not the rail. A half-pressed pad on a dusty rail is why stick-on lights fall after the first storm.
Step-by-step 3M tape sequence
Dry-fit first. Hold the fixture where the panel will see 4-5 hours of sun and the glow will hit the tread or path. Mark the outline with a pencil if the rail is easy to smudge.
Apply the 3M adhesive to the back of the light, not as a weak strip on dirty wood. Press the fixture onto the plane with even palm pressure. Hold. Do not slide it to 'true it up' after contact; peel and replace the pad if the aim is wrong.
Leave the mount undisturbed while the bond sets. Then pull the transparent insulator tab on the back so the unit can charge. Face the solar panel toward the sun for 4-5 hours. After charging, check the warm white glow in a dark environment. If it lights, the no-drill install is electrically alive. If it does not, the tab, the charge, or the dark test is next, not more tape.
No-drill 3M tape versus a rushed stick-on
| Step | Tape done right | Tape that fails | | --- | --- | --- | | Surface | Clean, dry, smooth | Dust, dew, peeling paint | | Aim | Checked before contact | Slid after the pad sticks | | Pressure | Firm, even, held | Tapped once and left | | Sun after mount | Panel open to 4-5 hours | Parked under a deep eave | | First use | Tab pulled, dark-tested | Tab still in the back | | Kick zone | Riser or rail, not a nosing | Tread that takes boots |
After the first night, and when to switch to screws
Walk the stairs at dusk. If a unit sagged, take it down, reclean, and use a fresh pad. If the rail is too rough for a second try, that is the screw path, not a thicker stack of tape. A dark first night is usually shade or a skipped charge, not failed adhesive. Keep the panel clear of snow so the 6-8 hour run can happen. To remove later, peel slowly and lift residue with a plastic scraper. Do not pry with a metal bar that scars the rail.
No-drill 3M install checklist

Photo by ROMAN ODINTSOV on Pexels
- Pick a vertical or flat plane that sees 4-5 hours of sun.
- Avoid treads, kick zones, wet wood, and peeling paint.
- Clean and fully dry the mount area.
- Dry-fit aim so the glow hits the walking surface, not faces.
- Apply 3M adhesive to the fixture and press firmly without sliding.
- Pull the insulator tab, charge 4-5 hours, then dark-test the glow.
- Re-check the bond after the first night and reclean if it sagged.
Frequently asked questions
Do solar deck lights require screws?
No. Both screws and 3M adhesive can mount them vertically or flat. Tape is the no-drill method.
How long should the surface stay dry before taping?
Until it is fully dry to the touch. Dew and wet sealer prevent a bond. Wait for a dry window.
Can 3M tape hold on a composite rail?
On a clean, dry, smooth composite plane, yes. Textured or dusty composite needs a real wipe, not a hopeful press.
When should the insulator tab come out?
After the fixture is mounted and before the 4-5 hour sun charge. A tab still in place keeps the unit off.
What if the light falls off after rain?
The plane was dirty, wet, or too rough. Reclean, dry, and use a fresh pad, or switch that spot to screws if the lease allows.
Related reading
These published install notes cover screws as well as tape; this page is the no-drill sequence only.
- how to install solar stair lights using screws or 3M adhesive
- 3M outdoor adhesive versus screw mounting
- DIY solar deck light installation without electrician fees
- install and setup solar deck lights with quick troubleshooting
What to do next
Pick the riser or rail that sees sun and does not take kicks. Clean it dry, press the 3M pad without sliding, pull the insulator tab, and charge the panel 4-5 hours facing the sun. Dark-test the warm white glow, then walk the stairs at dusk and confirm the lamp marks the tread instead of a face. That is the no-drill install: tape on an honest plane, then a real first charge.
Cover photo by Braeson Holland on Pexels.